Decision Process
Original Solution
You may recall how this blog used to be built. That, in my opinion, was even dumber, because basic website practices weren't even followed, such as the back button not even doing anything, because the site was entirely based on state. If a currentBlog was selected, the page conditionally changed its content to show the blog that was clicked from the home page. Terrible! I even made my own markdown-to-HTML converter function with ChatGPT, which sort of worked, but that meant I had to also manage my own CSS, JavaScript, etc. I had separate servers for it too!
What I Needed
Recently, I switched all of my note-taking to an app called Obsidian. What particularly drew me to the platform in the first place were that it:
- Allows note sync to all devices, across all platforms (with caveats, which we'll get to in a sec)
- You can reference other notes internally and build notes just for particular subjects. Rather than note-taking chronologically, which you can still do if you want, the idea is that you can continuously reference topics and other notes, which assembles into a graph like this:
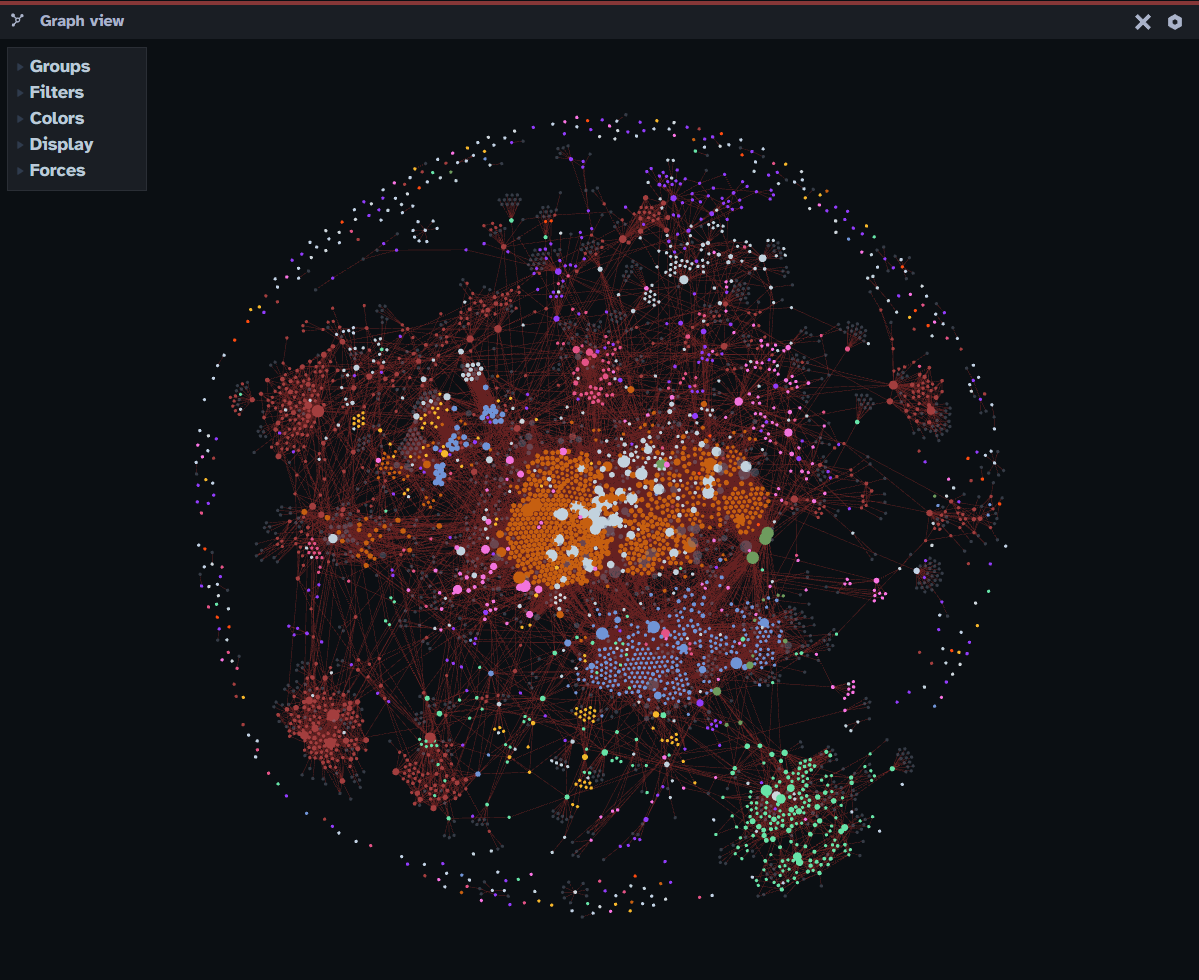 A goal in life is to reach a note complexity like that!
Also:
A goal in life is to reach a note complexity like that!
Also: - The style is great, and the app looks really good
- You can add inline LaTeX, which is great for my final semester of college where I may need to quickly and neatly write out random formulas as a moment's notice.
- Like any other markdown editor, there is support for code blocks and inline code, which you'll also see in a bit.
Syncing
The most important feature, above all, is that it had to sync to all of my devices; Windows, iPhone, Mac, etc. There are, out of the box, two solutions to this: - iCloud Sync (unusable, as I needed Windows support too!) - Obsidian Sync (works, but I need to pay for it)
However, Obsidian has a wonderful feature called Community Plugins. With that, I found a plugin called Obsidian Live Sync. The setup is extremely tedious, so I don't recommend it unless you already know your way around Linux commands, databases, and have your own server at home that you host stuff with. It is free, though!
Creating the Server
Adding a New Virtual Machine
I already run a Proxmox Server at home, which is a platform used to run Virtual Machines and LXC Containers directly on one machine. This keeps everything under one roof; you would be shocked how much can fit on one computer!
I needed some way I can access my synced Obsidian vault from my server, so that I can copy the notes into some sort of blog server. Since I needed a GUI, this meant that my options were relatively limited given how much RAM screens can take up. My final decision was Lubuntu, which quite literally takes Ubuntu and removes all the bloatware out of it. There isn't even a Web Browser, perfect!
Installing Lubuntu
Using the same snap store for Ubuntu, I went ahead and installed Obsidian with just one command:
sudo snap install obsidian --classic
Also, I adjusted the power settings on Lubuntu so that the screen never turns off or goes to sleep/standby, since I always need the notes syncing constantly as if I was using the Virtual Machine and taking notes. This one you can call me stupid for, but since the notes were in an encrypted CouchDB database, it was quite hard to get the notes without just installing another instance of Obsidian.
I opened Obsidian and set up the Obsidian Live-Sync community plugin like I have it on my other devices. Great, but how do I actually get these notes to show up in my blog server?
Choosing a Blog Server
One of the biggest issues that kept me from revamping my blogs for a long time was that I could not find one that I liked. They either didn't look good, were a pain to set up, or just didn't grab my attention.
Until a few days ago, when I discovered Hexo. The reason I chose it is because:
- Installs with NoddeJS in one command, and run with one command
- Watches for file changes, which is perfect when I need to quickly fix a typo in or add to a blog
- Supports themes. Like a LOT of them.
Installing & Using Hexo
Installing Hexo was very straightforward, which you can follow yourself with their nicely-written Docs. Once installed, running the dev server gives you a pretty good understanding of how the entire thing works. The most useful component, though, is that it consists of their backend service for collecting all of your markdown files listed in the source/_posts directory. The only problem with actually building the project is that everything is packaged and bundled together, so it's quite difficult to manage when your files may be changing quite often.
The solution to that? Just host the dev server! Generally, this isn't a good practice because if you have anything sensitive in the backend, such as API keys or passwords, it will be exposed in the browser. However, I don't, and the good thing with dev servers is that on save or if a file is changed anywhere inside the project folder, the site automatically updates to reflect those changes. This is just one simpler hack I use so that I don't have to constantly rebuild the blog site. Yes, I know I can just write a cron job to do it for me, but I like to keep my projects in as little places as possible.
So, to host the dev server, I can use pm2 to start a process and allow it to resume at startup, by typing pm2 start "npx hexo server", and pm2 save. Now it will run forever!
Automatic Updates
In order to keep my blogs updated when I make a change in Obsidian, I need to keep the files from the synced vault on the Lubuntu server the same as what the blog server will pick up in website/blogserver/source/_posts. How do I do that? Cron job! I just add the following in my crontab after running crontab -e:
* * * * * node /home/matt/website/blogserver/sync.js
And this helper script sync.js:
const { execSync } = require("child_process");
const fs = require("fs");
const path = require("path");

// Define source and destination directories
const sourceDir = "/vmstorage/obsidian/vault/Blogs/";
const destinationDir = "/home/matt/website/blogserver/source/_posts/";

// Sync files using rsync
function syncFiles() {
	try {
		execSync(`rsync -av --delete --exclude='Index.md' ${sourceDir} ${destinationDir}`, { stdio: "inherit" });
		console.log("✅ Files synced successfully.");
	} catch (error) {
		console.error("❌ Error syncing files:", error.message);
	}
}

// Process Markdown files
function processFiles() {
	const files = fs.readdirSync(destinationDir).filter(file => file.endsWith(".md"));

	files.forEach(file => {
		const filePath = path.join(destinationDir, file);
		let content = fs.readFileSync(filePath, "utf8");

		// Match front matter & extract metadata
		const match = content.match(/^---\n([\s\S]*?)\n---\n([\s\S]*)$/);
		if (!match) return; // Skip if no valid front matter

		const frontMatter = match[1];
		const body = match[2];

		// Check if 'complete: No' exists in front matter
		if (frontMatter.includes("complete: No")) {
			const newContent = `---\n${frontMatter}\n---\nComing Soon!`;
			fs.writeFileSync(filePath, newContent, "utf8");
			console.log(`✏️ Updated: ${file}`);
		}
	});

	console.log("✅ Processing complete.");
}

// Run both functions
syncFiles();
processFiles();
- In a nutshell,
* * * * *means run the following command every minute forever, 24/7. - Then, we just run our helper script, which:
- Sync the files using
rsyncto the destination directory of our choosing- Excludes my
Index.mdas I use it internally with Obsidian; it's not a blog --deletes any files in the destination that do not match those in the source
- Excludes my
- Removes the content in the copied files if I've indicated so in the blog with
complete: Nowhile I'm writing a blog- Reads through all
.mdfiles in my blog server's files - Modifies the content in the blog to "Coming Soon!" if it finds that a file says
complete: Noin it.
- Reads through all
- Sync the files using
All looks great, but there are a couple of issues it causes:
- It's only accessible on the local network
- The URL is ugly
- It's running on a port other than 80 (HTTP) or 443 (HTTPS)
- It is only using the insecure HTTP protocol, it should be using HTTPS (secure)
But it's easier to solve than you would think.
Fixing the Quirks
So how do we make the blog server accessible to everyone on the internet? How do we make the URL something cleaner, like obsidian.mattvandenberg.com? And how do we let it run on a more standard web port?
I already am running an Apache web server for the main website over at mattvandenberg.com. It also happens to server as the main entry-point for all my web server needs, whether that be for a media server I run, or my recipe tracker. It is quite underrated in that it also offers a Reverse Proxy.
If you are unaware, reverse proxies are a great tool on the internet for directing traffic. One of the most common use cases is for load-balancing on higher-bandwidth sites, like Google. Load balancing directs people attempting to visit the same domain google.com to multiple different WAN IP addresses, since one server can't handle millions of requests per second! However, the other major use case, which I used, solves every single problem mentioned above! Let me show you the site I added in my /etc/apache2/sites-available folder on my web server called obsidian.mattvandenberg.com.conf:
<VirtualHost *:443>
    ServerName obsidian.mattvandenberg.com

    # SSL Configuration
    SSLEngine on
    SSLCertificateFile /etc/letsencrypt/live/mattvandenberg.com/fullchain.pem
    SSLCertificateKeyFile /etc/letsencrypt/live/mattvandenberg.com/privkey.pem

    # Proxy Configuration
    ProxyPass / http://192.168.0.129:4000/
    ProxyPassReverse / http://192.168.0.129:4000/
    ProxyPreserveHost On

    # WebSocket Support
    RewriteEngine On
    RewriteCond %{HTTP:Upgrade} =websocket [NC]
    RewriteRule /(.*) ws://192.168.0.129:42069/$1 [P,L]

    # Add CORS headers, to prevent CORS issues
    <IfModule mod_headers.c>
        Header set Access-Control-Allow-Origin "*"
        Header set Access-Control-Allow-Headers "Origin, X-Requested-With, Content-Type, Accept"
        Header set Access-Control-Allow-Methods "GET, POST, PUT, DELETE, OPTIONS"
    </IfModule>
</VirtualHost>

<VirtualHost *:80>
    ServerName obsidian.mattvandenberg.com
    RewriteEngine On
    RewriteRule ^ https://%{SERVER_NAME}%{REQUEST_URI} [END,NE,R=permanent]
</VirtualHost>
Let's break it down:
ServerName obsidian.mattvandenberg.comspecifies what the name of this web server should be called.- Any line with
SSLin front of it is related to getting HTTPS working on the site ProxyPassReverse / http://192.168.0.129:4000/acts as the reverse proxy, so that when a user wants to navigate toobsidian.mattvandenberg.com, it actually takes you tohttp://192.168.0.129:4000/in the background.
Finally, to make the site navigational from the internet, we needed to add our site into our DNS provider. If you haven't changed your nameservers to another DNS provider, you would usually do this on the site where you purchased your domain. However, for additional security, I chose to route my DNS through Cloudflare. So, by adding an A record for obsidian navigating to [my ip address here], the site becomes publicly available, with HTTPS support, from obsidian.mattvandenberg.com. Great!